Page 7 of 41
Posted: Tue Jun 19, 2012 9:08 pm
by BobCT
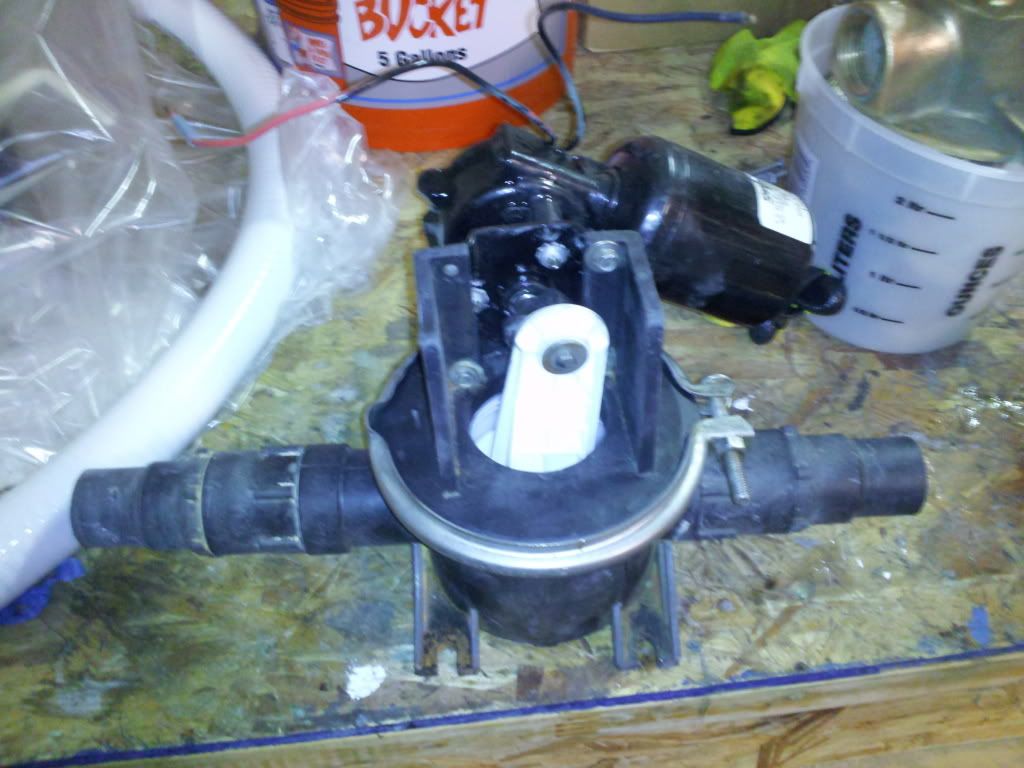
Todd, that's great... glad you were able to use the parts. I just uploaded a video and forgot to show the ventilation fans in the video I also did some engine room stuff separately. I eliminated my macerator and had the computer fan brainstorm as I was looking at the switched 12v power source in the bilge.
RWS, both of these are in the cabin so no worries about ignition. They don't provide any cooling but provide continous ventilation. They throw quite a bit of air, easily 2x what the solar vents do.
I'll add some video of those so you can see exactly what I did...
Posted: Wed Jun 20, 2012 8:54 pm
by yorklyn
Posted: Wed Jun 20, 2012 9:09 pm
by yorklyn
Started laughing as I looked around my shop today! Thought I would share!
What a mess!

Here's the shelf with my canvas and cushions!

Here's my fridge, dinette, galley cabinets, door, dock cords, gen muffler, well you get the idea!!!

My wet bar and helm seats!

Cockpit seat and God knows what else!

Oh dont forget the radar arch!!

OMG i'm speachless!!!


I Think I should seek counseling!!!!!
(By the way Spray Foam insulation should never look like it does in my pics!!! Sprayed the entire shop by myself in one day in the dead of winter with the temp too cold just before we moved in. At the time I said I didnt give a s--t how it looked because it would still do what I need it to do! Now I cringe whenever some sees it! LOL)
Posted: Thu Jun 21, 2012 8:31 am
by RWS
funny, i didn;t see any fishing rods in those photos......
RWS
Posted: Thu Jun 21, 2012 9:11 am
by 297Elegante
Im jealous of that shop, spray foam and all! Great work going on there!
Posted: Thu Jun 21, 2012 12:29 pm
by Mike Kulp
Todd You are correct mine are 1 7/8" not 1 3/4" was crazy expensive to replace.
Posted: Thu Jun 21, 2012 5:47 pm
by yorklyn
Floor and hatches are in!!!


Posted: Fri Jul 06, 2012 5:40 pm
by yorklyn
Posted: Fri Jul 06, 2012 6:05 pm
by yorklyn
Posted: Fri Jul 13, 2012 5:11 pm
by yorklyn
Posted: Fri Jul 13, 2012 5:15 pm
by yorklyn
skylites are out. What a PITA!

interior trim ring

Posted: Mon Jul 16, 2012 3:40 am
by AlexO
I think everyone benefits when members share thier "stuff:" on line on th eforum,, especially when photos and details arew involved.
Posted: Mon Jul 16, 2012 12:52 pm
by Mike Kulp
Hey Todd did you decide if you are installing the sky lights again and if how you are doing it ?
Posted: Mon Jul 16, 2012 1:29 pm
by yorklyn
Mike
I was planning on talking to you before I do it. I think I'm going to find some new 1/2 lexan and make new ones again. I figure its easier than cleaning the caulk off the old ones. if you don't mind I will pm you with my cell # . it sounds like you figured out how to stop the leaks.
thanks
Todd
Posted: Fri Jul 20, 2012 5:49 pm
by Unchained
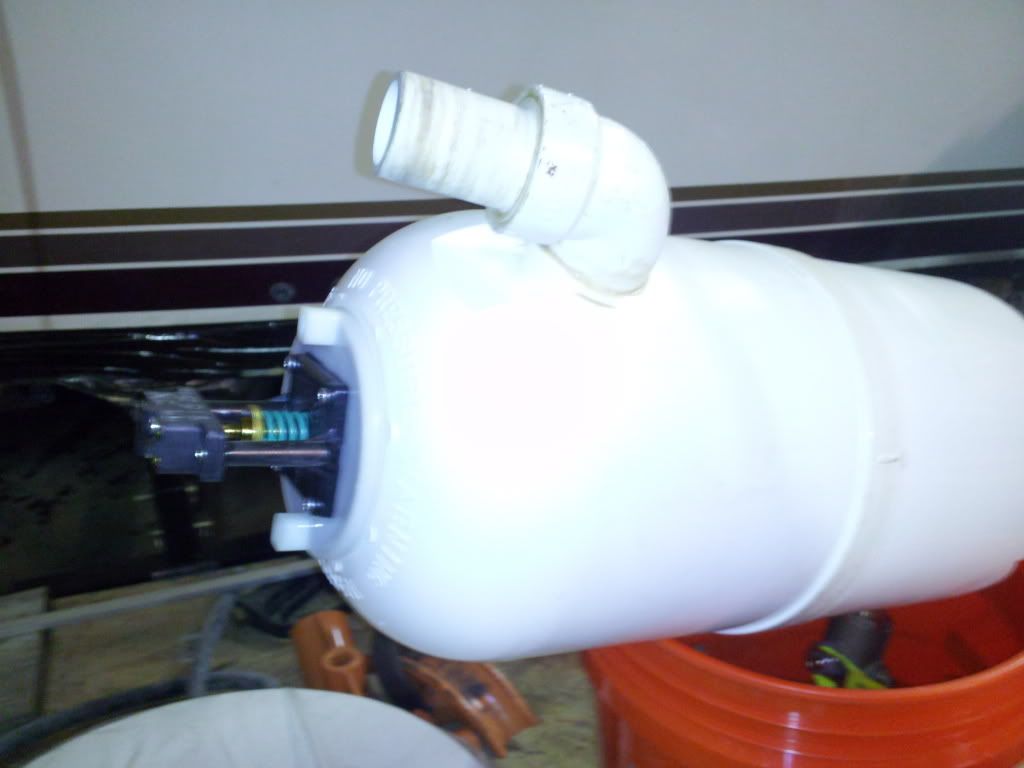
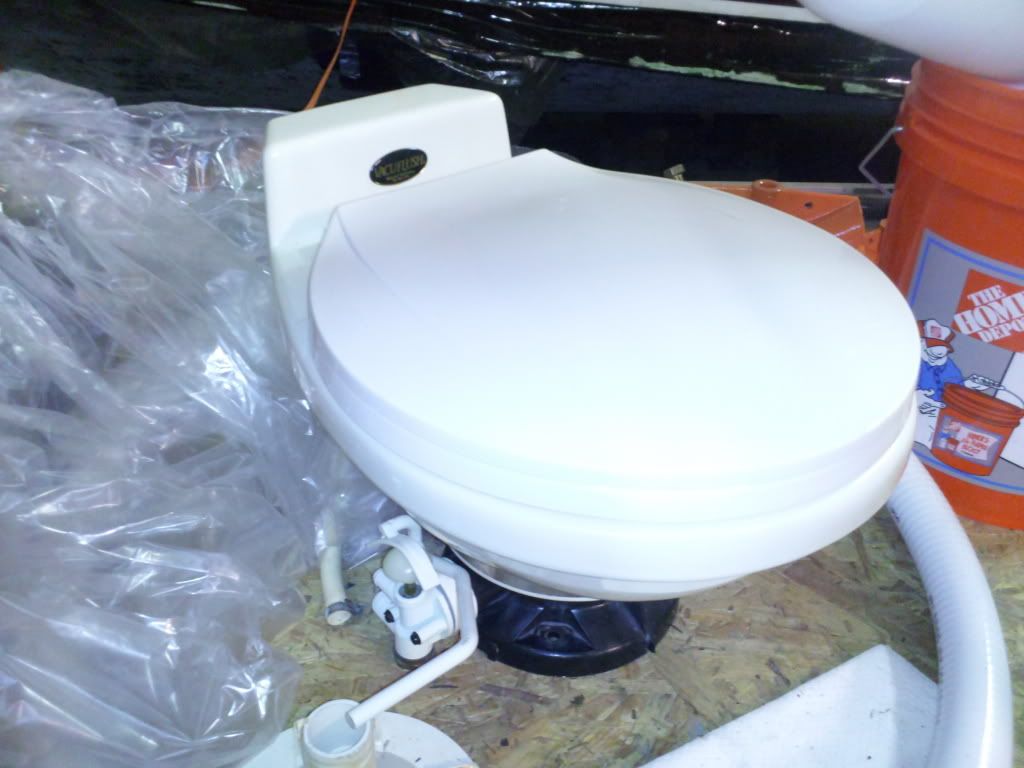
Hey Todd, I have the exact same boat and no pump-out for the holding tank for the head, only the overboard discharge. How is yours set up?
I've been following your project. It's looking great! Mike