Page 1 of 5
Seacock Replacement
Posted: Sun May 03, 2015 4:33 pm
by Christian
Again a perfect weekend at the marina. I work the whole day Saturday to end the day with a little fire and a JT accompanied by surrounding boaters. All in all just a fantastic time...

As mentioned in a previous thread I have started replacing all of the through hulls and seacocks below the water line. I thought I would post the progress and ask a few questions while at it.
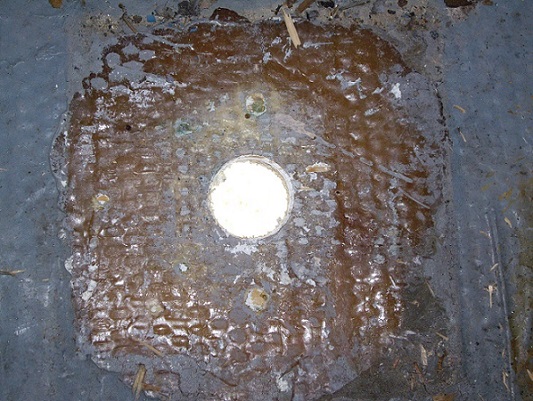
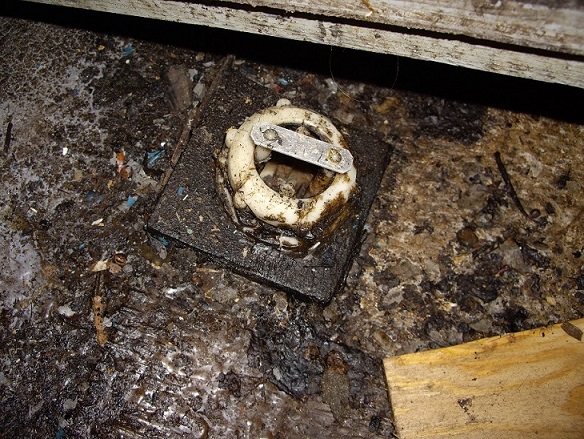
First I removed the engine raw water seacocks. One was loose but as it turned out was the most difficult to remove

The backing plywood plates were a joke to remove. All of 10 minutes.
Here is the starboard:
- IMGP1970smaller.jpg (177.86 KiB) Viewed 9446 times
And the backing plate:

- IMGP1973small.jpg (243.62 KiB) Viewed 9446 times
Then for the post side:
- IMGP1971Small.jpg (192.22 KiB) Viewed 9446 times
Re: Seacock Replacement
Posted: Sun May 03, 2015 4:36 pm
by Christian
And the backing plate:
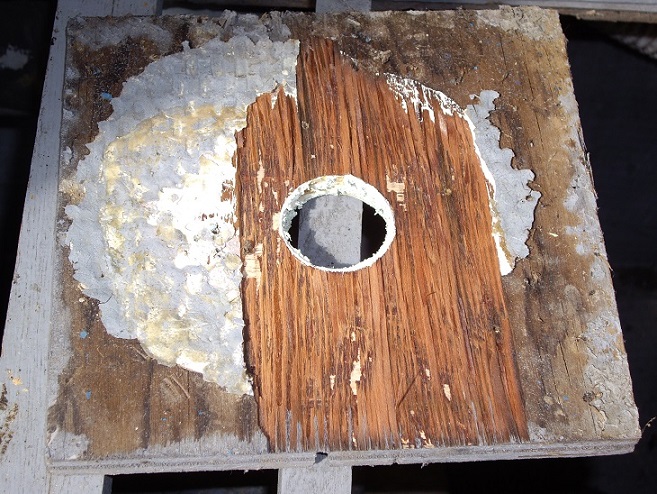
- IMGP1972small.jpg (225.31 KiB) Viewed 9445 times
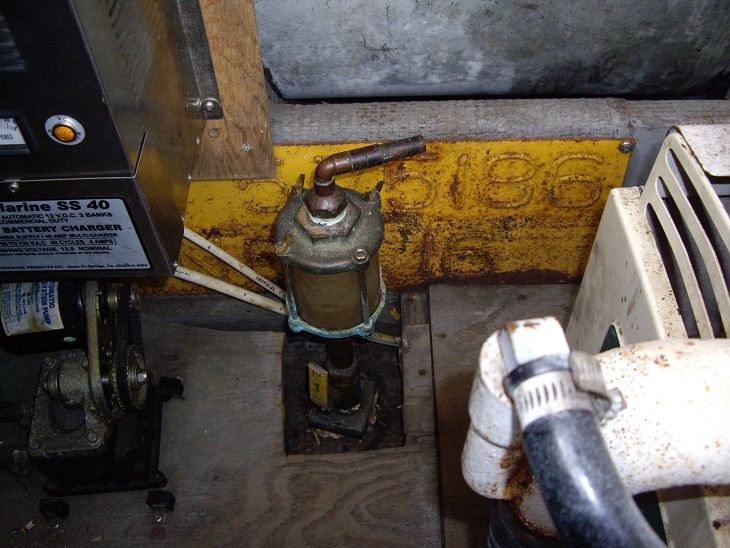
I then tackled the mysterious plug...
- IMGP1947small.jpg (200.02 KiB) Viewed 9445 times
- IMGP1943s.jpg (218.85 KiB) Viewed 9445 times
Re: Seacock Replacement
Posted: Sun May 03, 2015 4:43 pm
by Christian
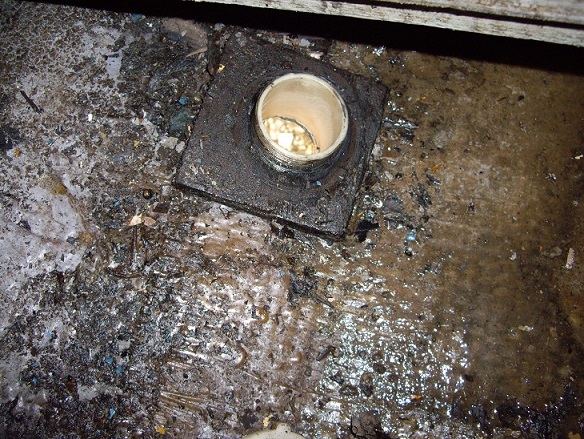
- IMGP1976Small.jpg (223.49 KiB) Viewed 9445 times
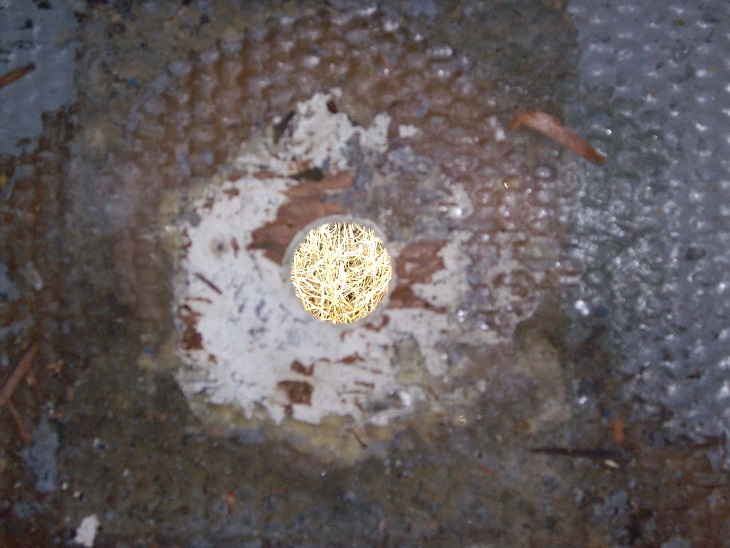
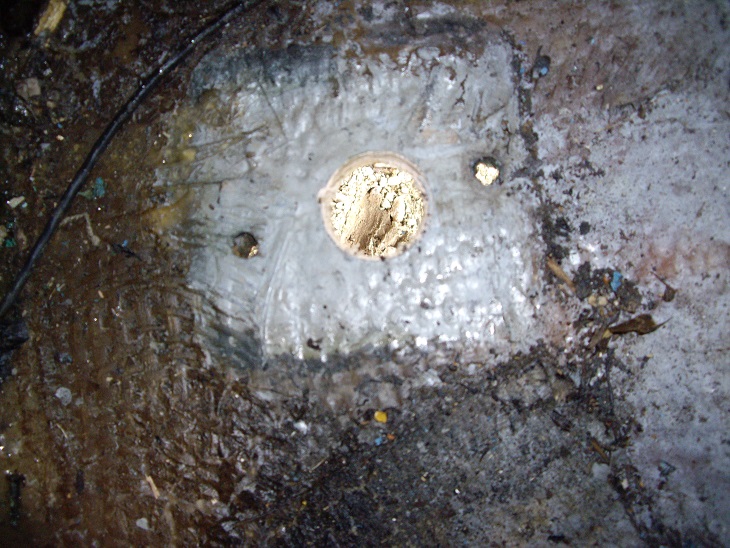
While in there I found this hidden gem. That must have been in the hole originally!
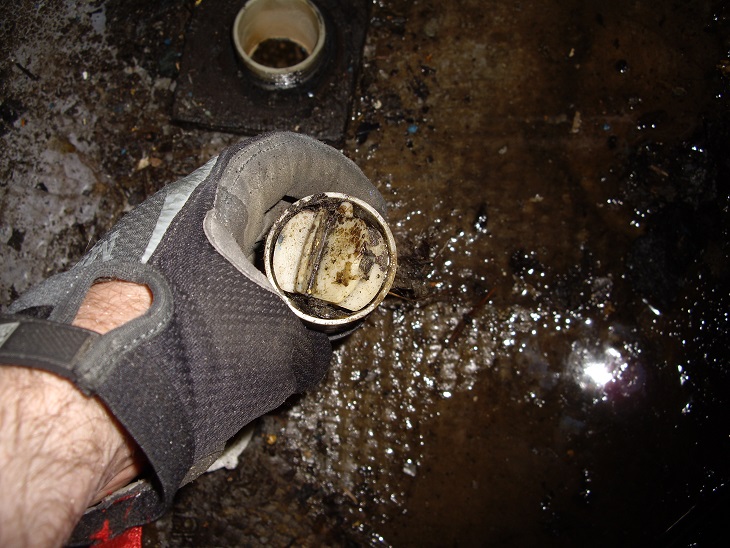
- IMGP1978small.jpg (214.82 KiB) Viewed 9445 times
Looks like the speed transducer...
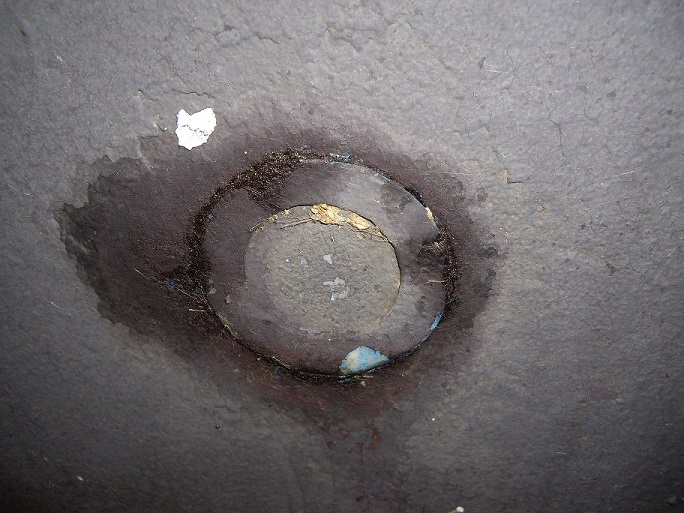
I then went on to an orphan seacock that was not attached to anything. I believe it was originally for the AC unit:
- IMGP1975small.jpg (240.22 KiB) Viewed 9445 times
Re: Seacock Replacement
Posted: Sun May 03, 2015 4:49 pm
by Christian
Re: Seacock Replacement
Posted: Sun May 03, 2015 5:02 pm
by Christian
I found this yellow plate in the generator room! Does anyone else have this?
- IMGP1981.JPG (227.24 KiB) Viewed 9443 times
I still have 2 others to remove in the port lazarette. Not sure what they are for yet as I have not looked at it closely.

- IMGP1987small.jpg (237.64 KiB) Viewed 9443 times
and a last one that I can't seem to find. It is on the port side 3 feet in front of the V-Dive inlets. It looks like the access is through the aft head floor... Any ideas hot to access this one?
I should mention again that it is in a 1976 Tri-Fly.
Re: Seacock Replacement
Posted: Sun May 03, 2015 5:15 pm
by Christian
Here is the new hardware for the engine raw water seacocks. You can see the G-11 sheet in the background. Very similar to G-10...
All proper silicon bronze hardware and this big a## hole saw
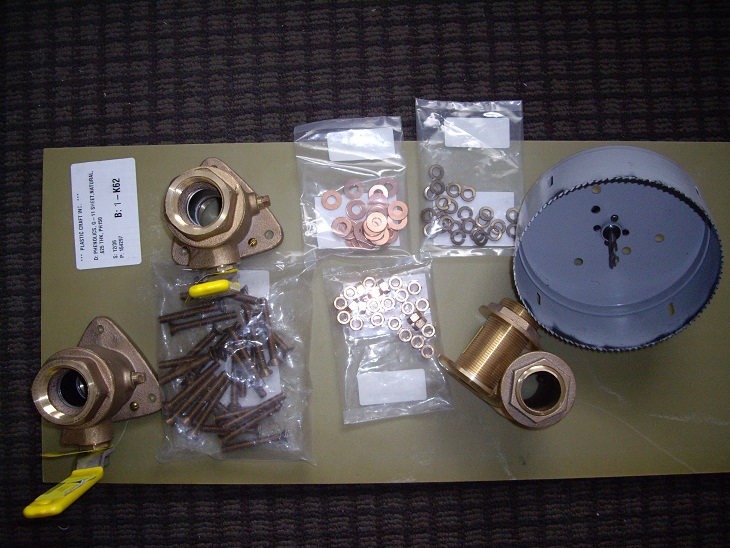
- IMGP1993Small.jpg (219.06 KiB) Viewed 9441 times
Re: Seacock Replacement
Posted: Sun May 03, 2015 8:48 pm
by Flyboy
The yellow plate may be a Documentation #. You can check to see if it was documented and the vessel name at
http://www.st.nmfs.noaa.gov/st1/CoastGu ... yName.html
Re: Seacock Replacement
Posted: Sun May 03, 2015 9:27 pm
by Christian
Sweet! You were right. I found it. What would be the purpose of this?
Re: Seacock Replacement
Posted: Sun May 03, 2015 10:56 pm
by ready123
Christian wrote:Sweet! You were right. I found it. What would be the purpose of this?
Documented boats must have the number physically attached to the inside of the boat. If the boat is no longer documented it should have been removed.
Re: Seacock Replacement
Posted: Sun May 03, 2015 11:27 pm
by bjanakos
It does not need to be removed. In fact, the coast guard states that document number be affixed in a way that they can NOT be easily removed. If you ever decide to re-doc your vessel, it may be easier to renew the expired doc than start all over with a new doc.
Re: Seacock Replacement
Posted: Mon May 04, 2015 7:44 am
by Christian
Thanks a bunch guys! Much appreciated.
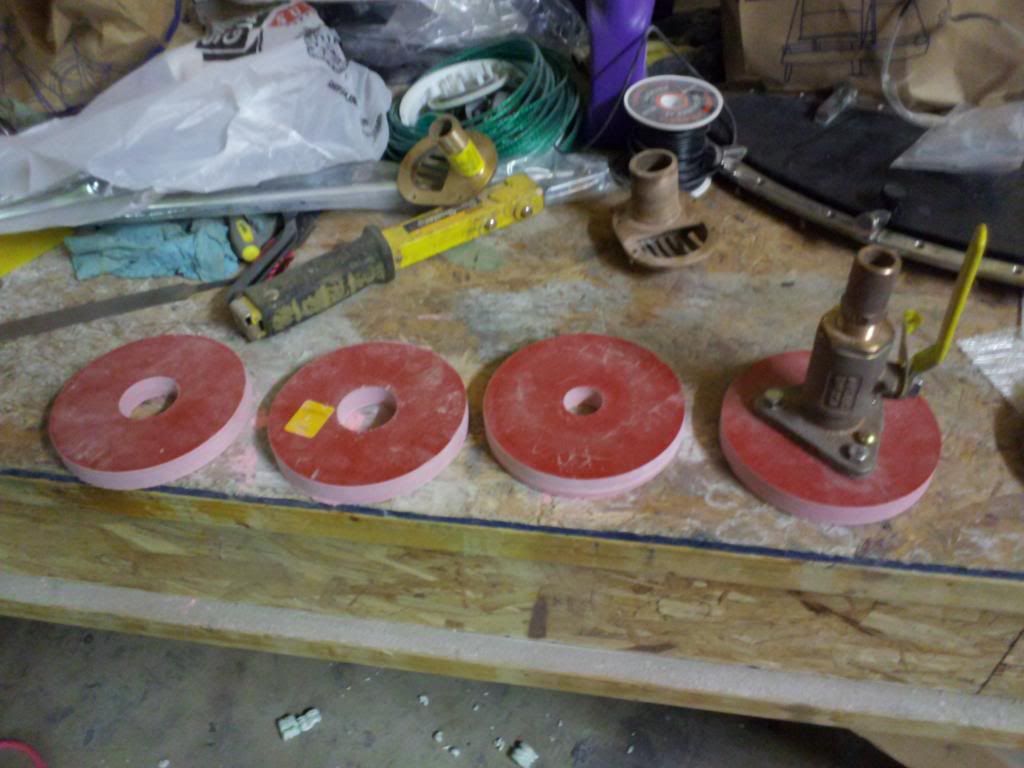
I started cutting the fiberglass plate the big hole saw. Well that was a fail. I was not able to go through the whole thickness before to saw wore out
this stuff is hard as a rock. I don't think it was a bi-metal hole saw. Now I have to figure out another way or get a better one. Will see. I will post a picture of the setup to cut the plates tonight.
Cheers,
Christian
Re: Seacock Replacement
Posted: Mon May 04, 2015 10:54 am
by bjanakos
I did mine on a band saw. I made a circle cutting jig for a previous project. It's basically a plywood platform clamped to the table with a 1/4 dowel.
Where you using a drill press with that giant wheel?
Re: Seacock Replacement
Posted: Mon May 04, 2015 1:31 pm
by Christian
I basically chucked it in my milling machine...
Re: Seacock Replacement
Posted: Thu May 07, 2015 9:58 pm
by yorklyn
you can do it with a hole saw and a drill press . I was able to cut all of mine with 2 hole saws. Take your time and dont use too much pressure.
Re: Seacock Replacement
Posted: Fri May 08, 2015 2:32 pm
by Christian
Those look nice!
What did you use to glue the plates? Epoxy and kitty hair or 5200, 4200...? I am leaning towards the kitty hair myself!
I did not have a chance to complete the plates. Cluster F&#K at work all week ... And this weekend, Mothers Day. Having the folks over for brunch on Sunday. Weekend is basically shot

Christian
